Lab 4: Overview of Anypoint Exchange - Part 2
Overview
In the previous lab exercise, you designed an Order API using API Designer. In this lab exercise, you will publish it to Anypoint Exchange. In the real world, this action is crucial as it informs the larger community that someone is producing a new API, which they might want to reuse.
|
Similarly to what you accomplished in the previous lab exercise, it is not uncommon for experienced API designers and developers to flesh out the first revision of API minimally and then immediately publish it to Anypoint Exchange to create awareness of the new API. They will then incrementally complete their API specification while publishing point releases to Anypoint Exchange. |
Step 1: Login to the Anypoint Platform
|
We authored this lab exercise assuming that you might have stepped away or taken a break, possibly closing your browser. Skip to step 3 of this lab if you are continuing where we left off in the previous lab exercise. |
-
If you are not logged into the Anypoint Platform, open your web browser and navigate to https://anypoint.mulesoft.com.
-
Enter your credentials into the Username and Password fields.

-
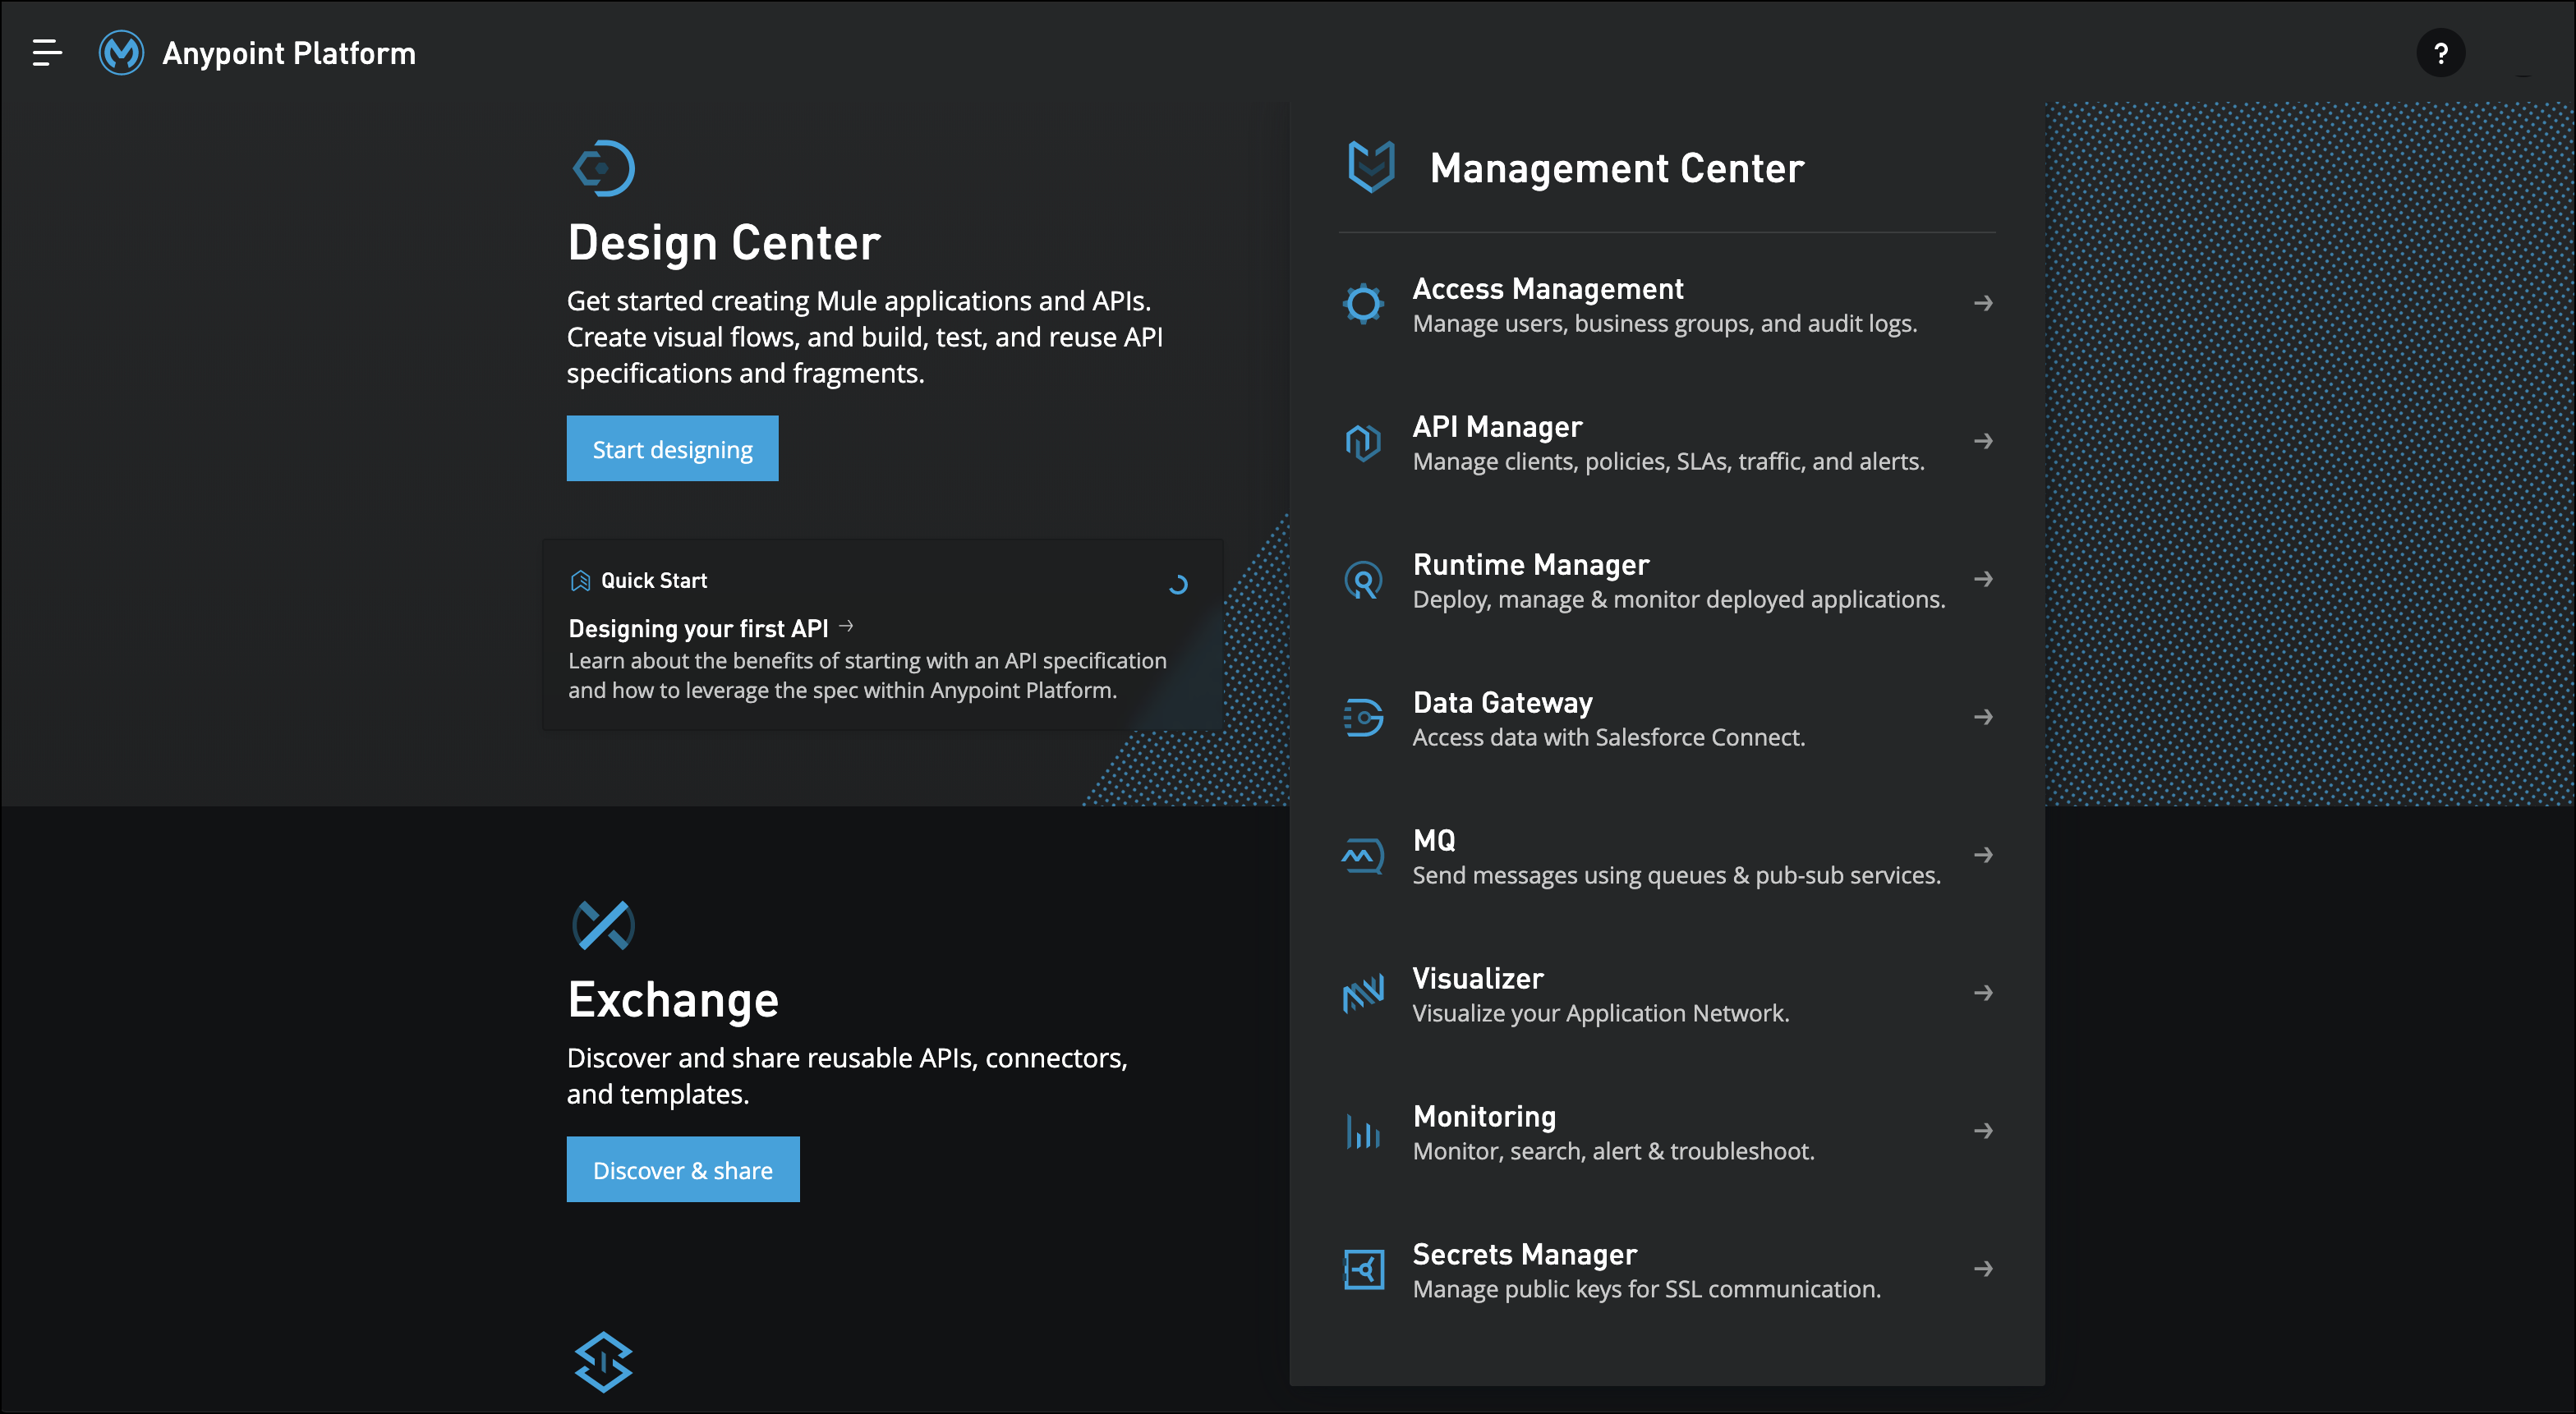
You should see the Anypoint Platform landing page once logged in.
Step 2: Open your Order API in Design Center
-
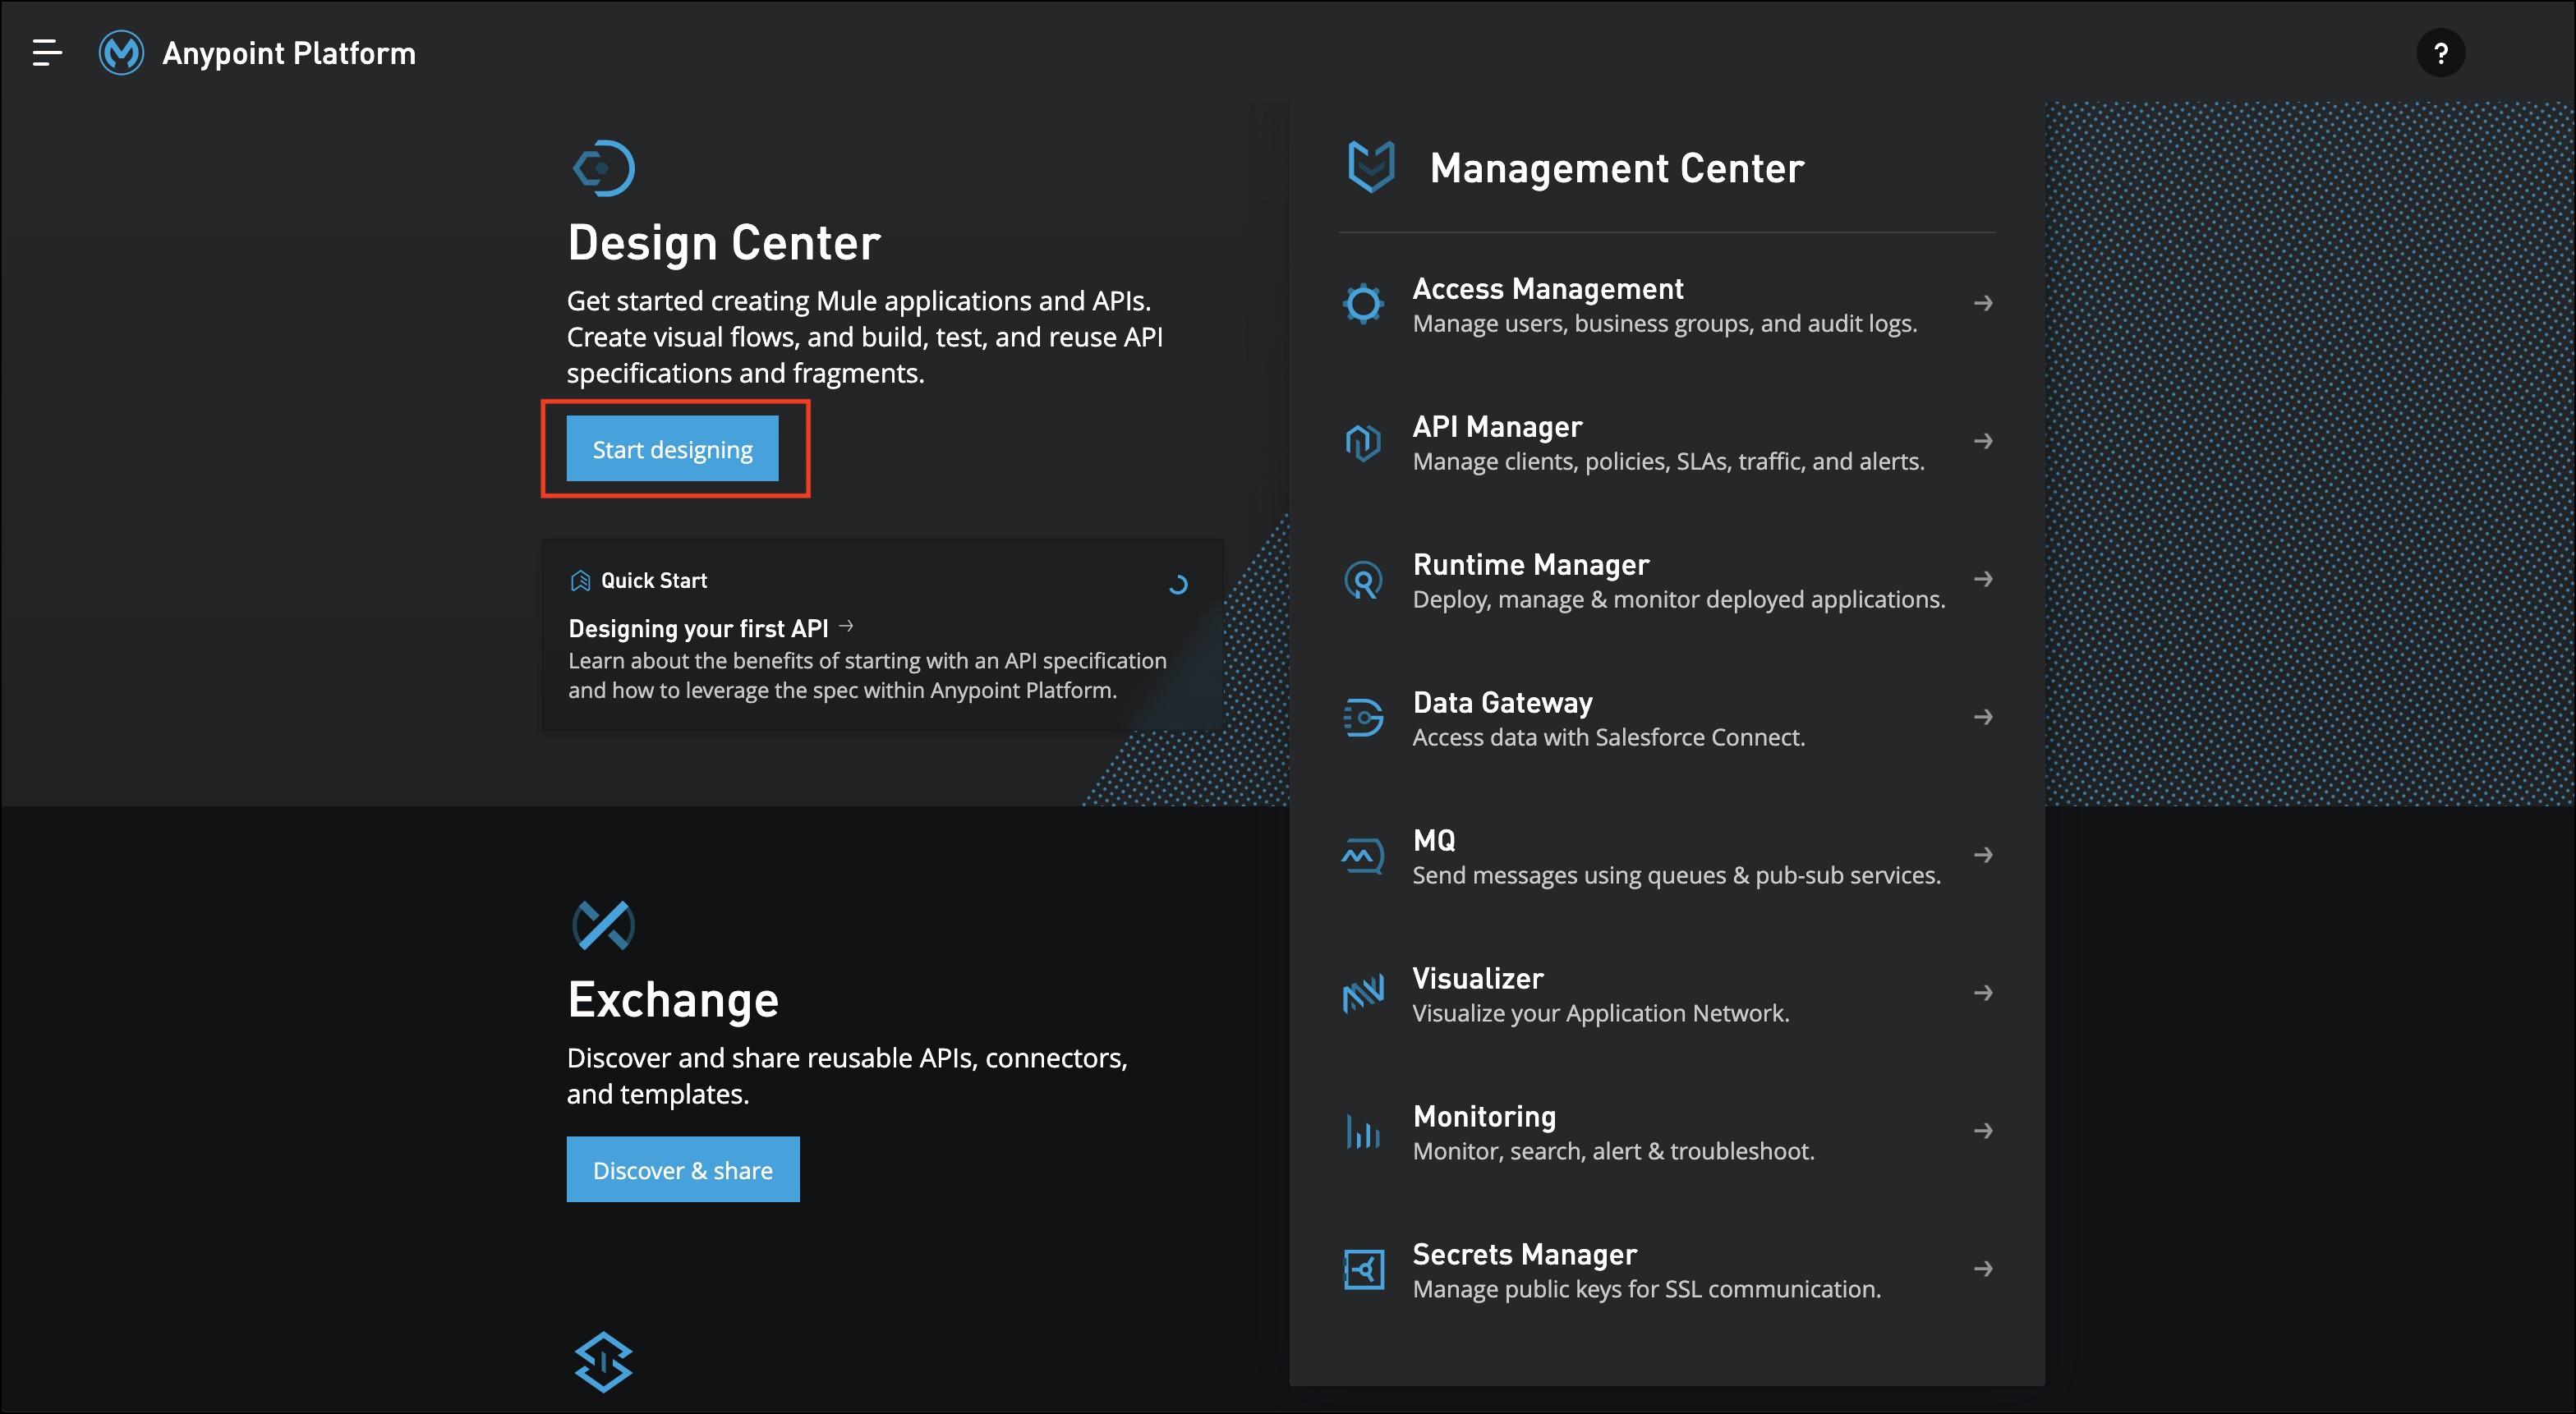
Click on the button labeled Start designing, or click on the hamburger menu, and click on Design Center.
-
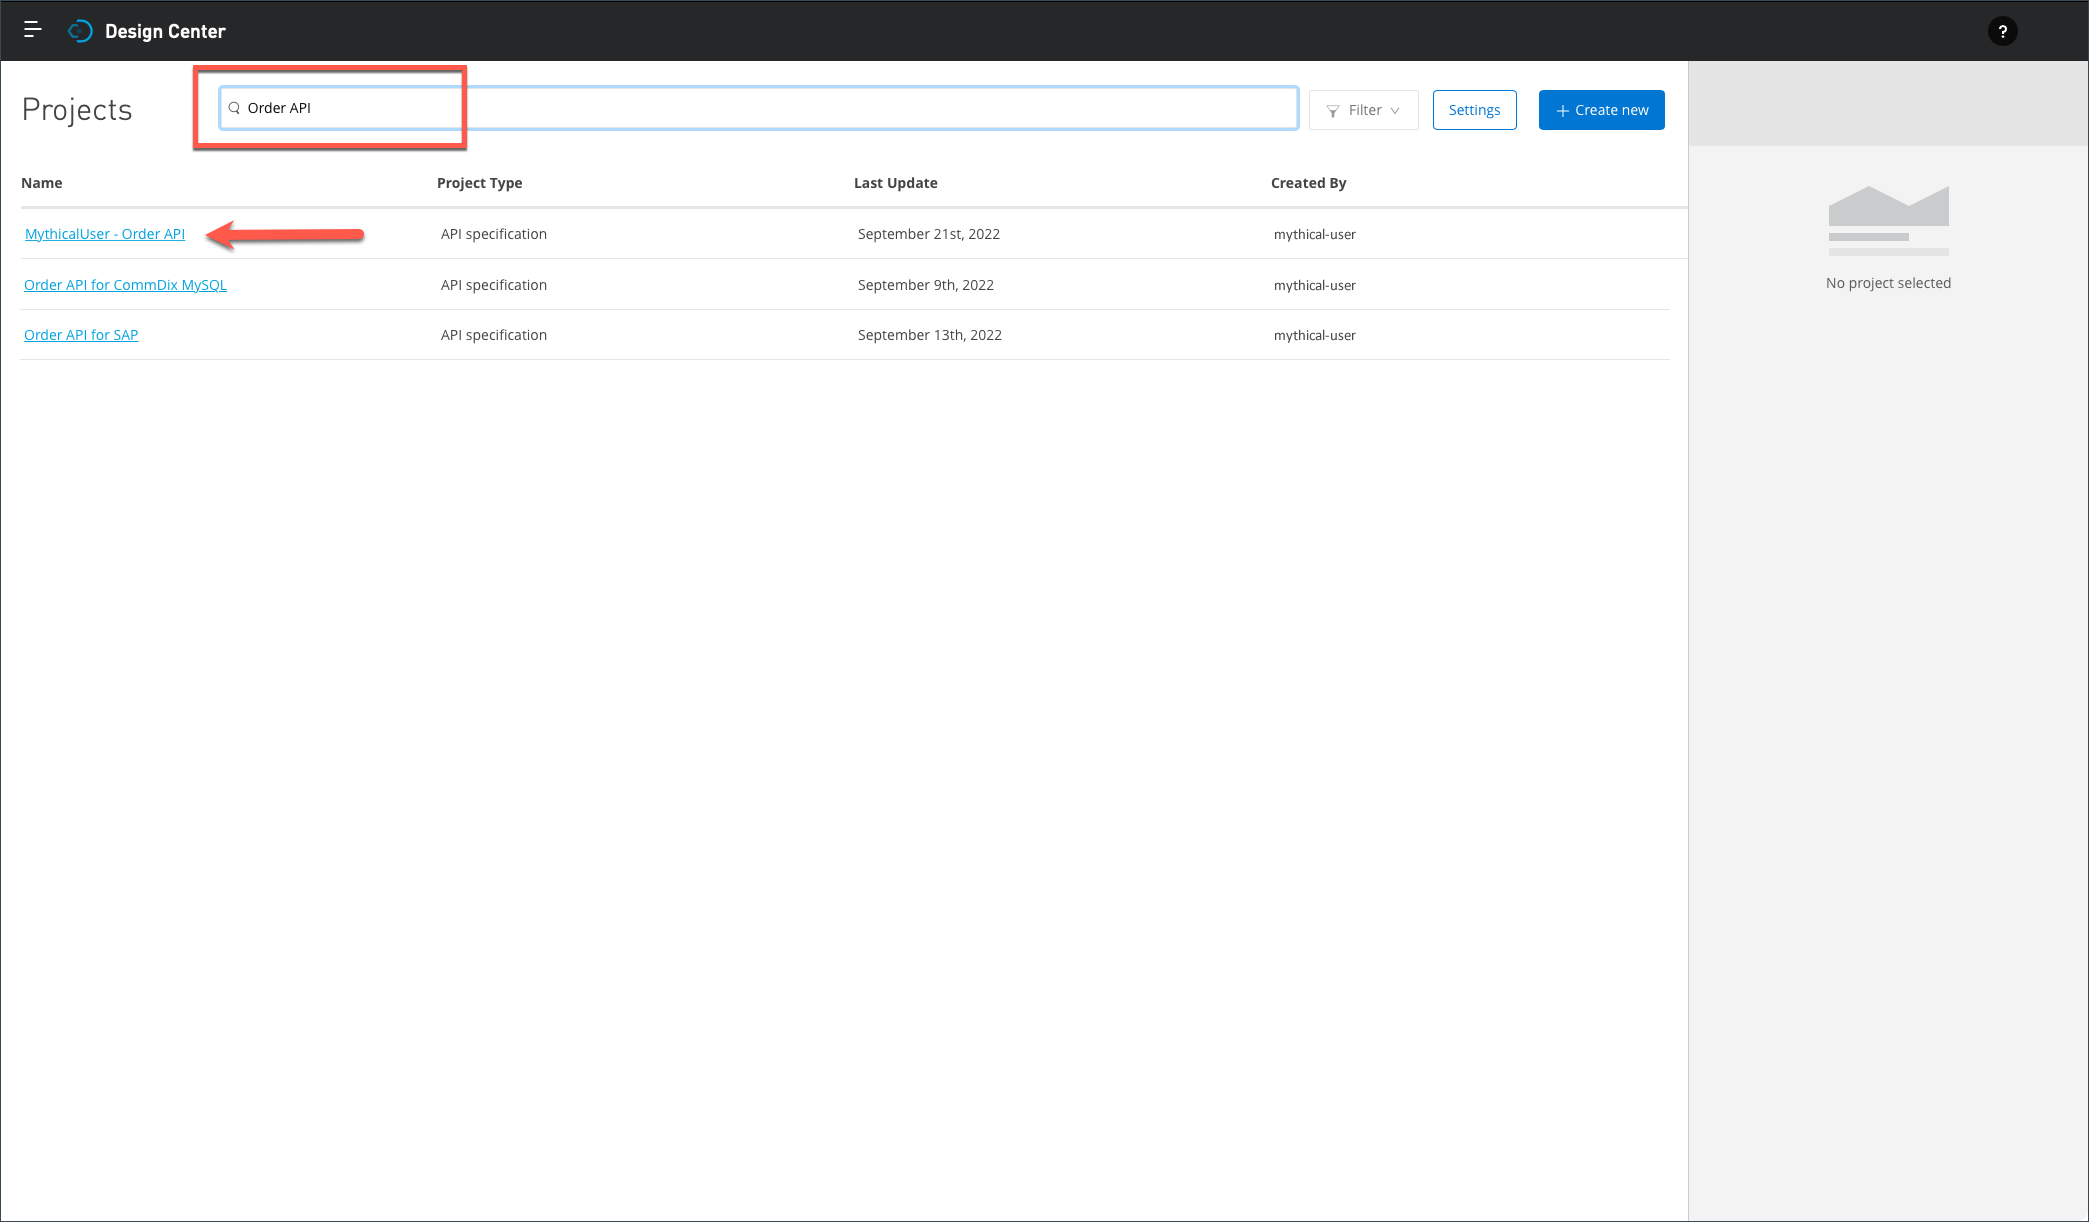
You should see the Design Center landing page, which lists all APIs someone within your organization or business group has already designed or is in the process of designing.
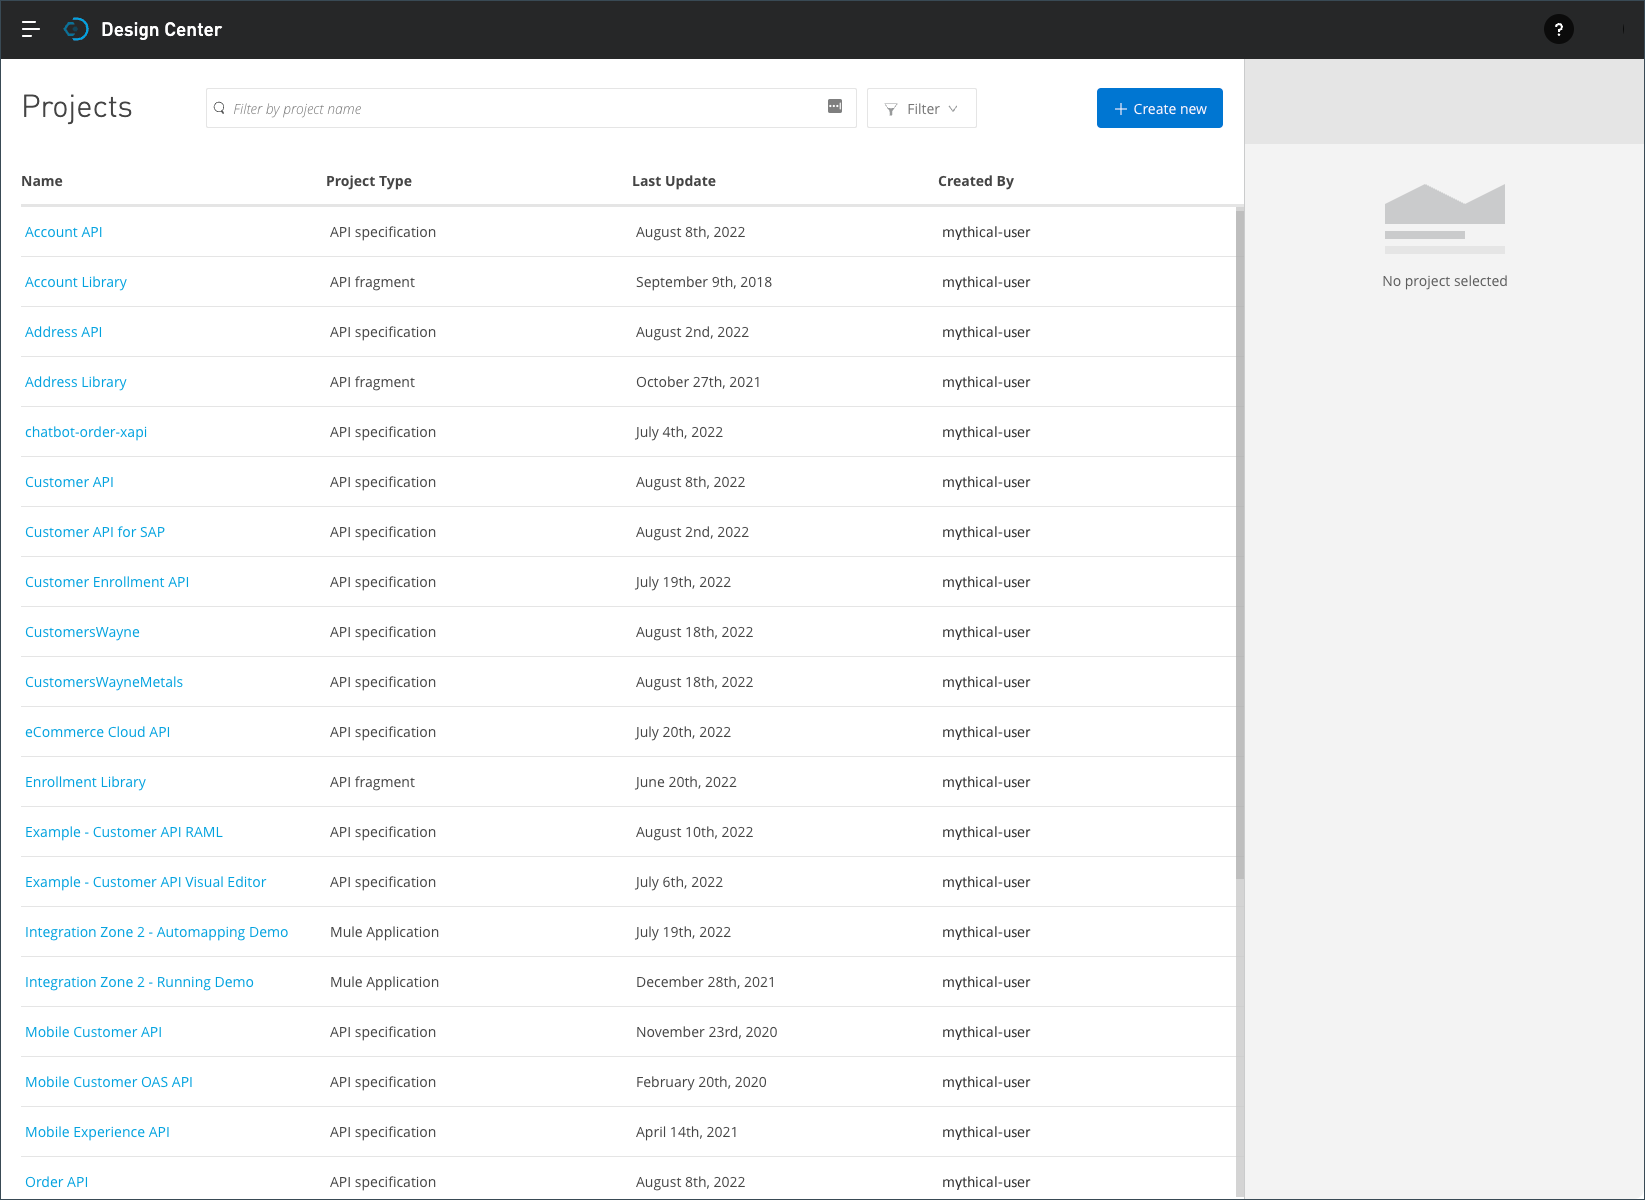
The screen capture above differs from the landing page seen in the workshop.
-
Optionally, enter Order API in the search bar to filter the list. Then, click on the name of your project to open it - i.e., <unique prefix> - Order API.
Step 3: Publishing an Asset to Anypoint Exchange
-
To publish your Order API specification to Anypoint Exchange, click on the Publish button.

-
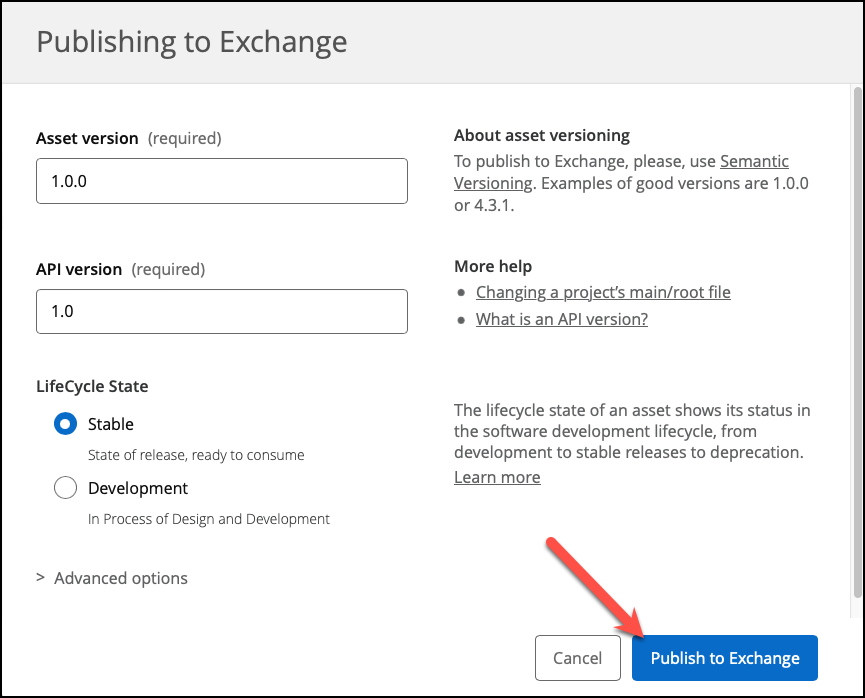
The popup window Publishing to Exchange is already prepopulated with some default values.
-
The Asset version defaults to 1.0.0, but you could easily change it to a minor version, such as 0.1.0 or 0.5.0.
-
The API version was derived from your API specification and cannot be changed here.
-
The LifeCycle state defaults to Stable, which indicates the API specification is ready to be validated.
Click on the Publish to Exchange button.
-
-
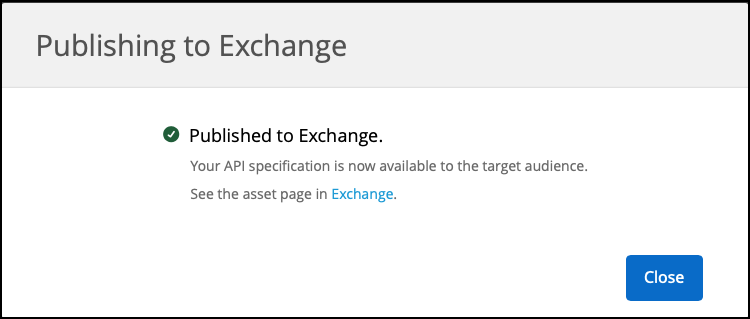
Design Center displays a confirmation it published your API specification to Anypoint Exchange. Click the Close button.
You have now published your Order API to Anypoint Exchange for others to discover, use and reuse. In reality, Anypoint Exchange created two assets:
-
An asset to inform the larger community you are producing a new API, which they might want to reuse.
-
A REST connector to jump-start building client applications of this API. You will have an opportunity to explore connectors in the next lab exercise.
-
Step 4: Enrich the Asset Documentation In Anypoint Exchange
-
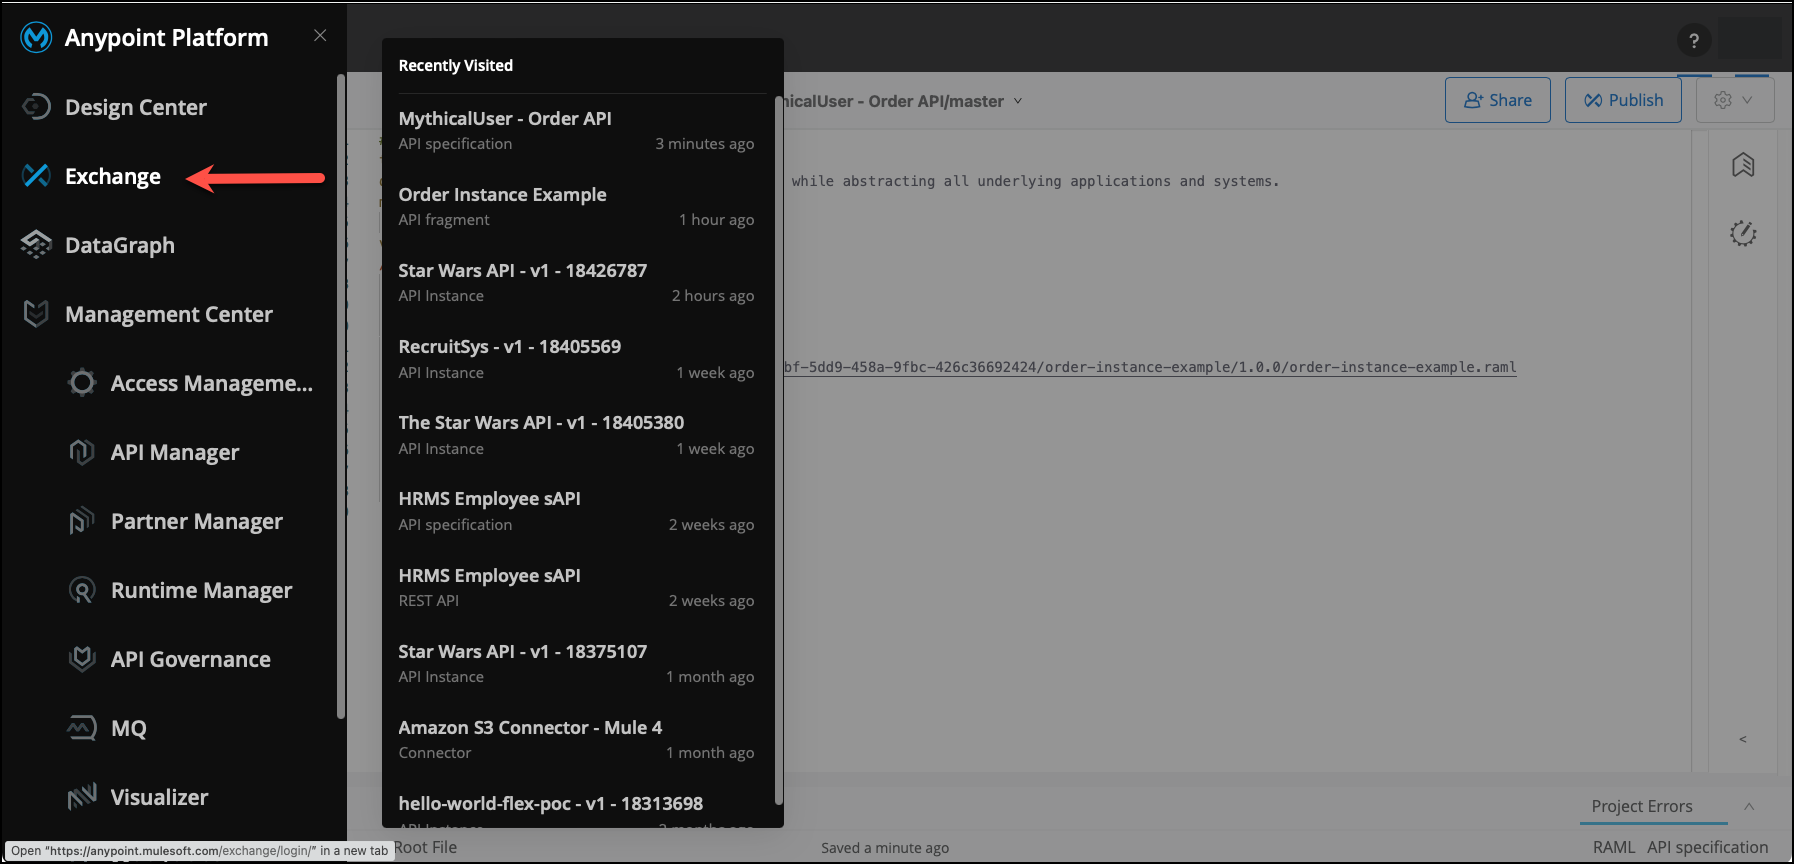
Click on the hamburger menu in the top left corner, and click on Exchange.
-
You should see the Anypoint Exchange landing page.
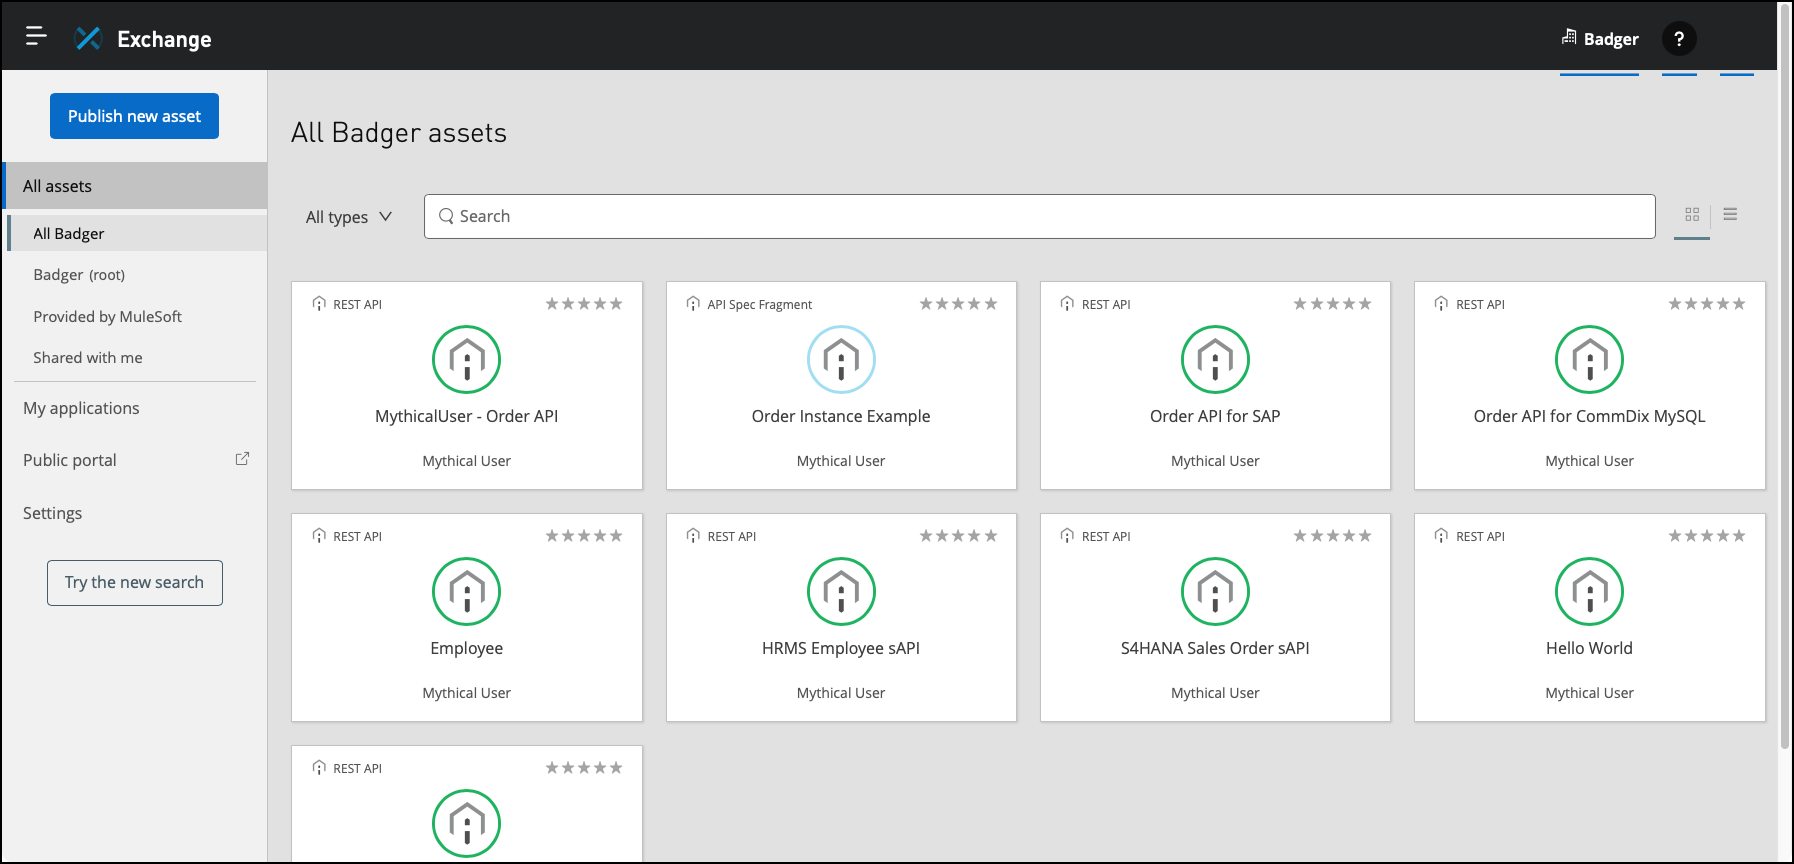
The screen capture above is for illustrative purposes and differs from the landing page seen in the workshop.
-
Optionally, enter order api or simply order in the search bar to filter down the list of assets.
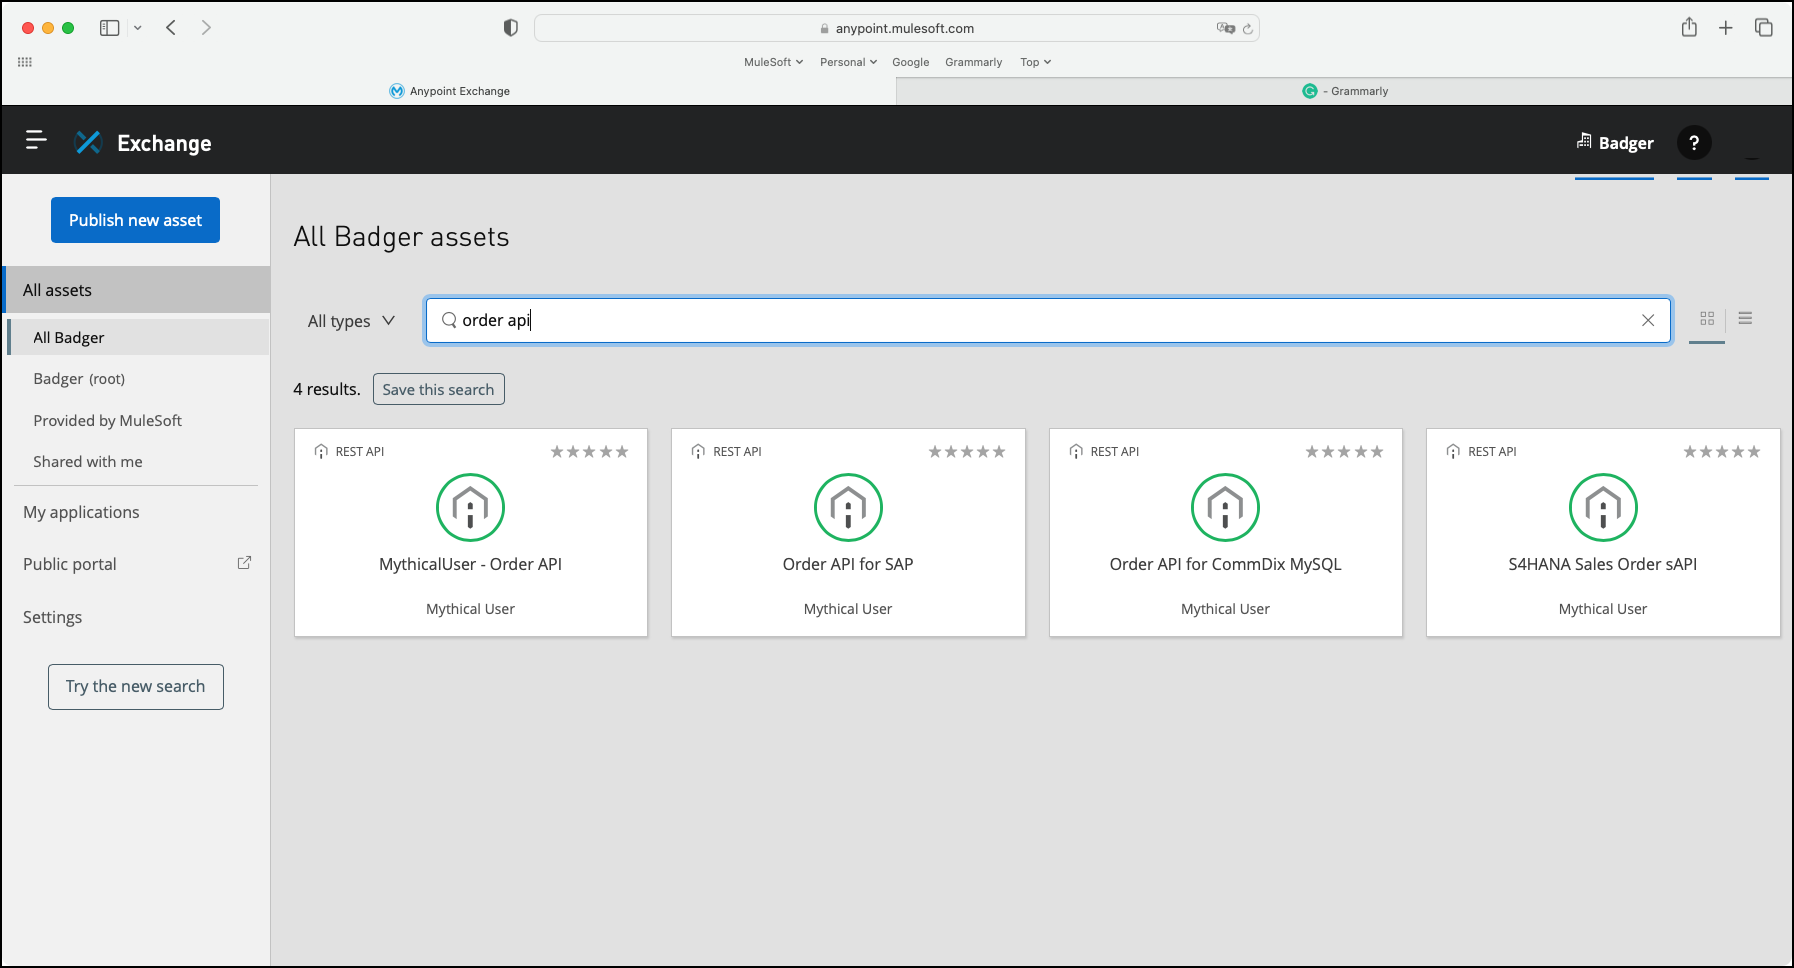
-
Then, click on the tile of the asset you just published to open it - i.e., <unique prefix> - Order API. You should now see your API specification and its generated documentation.
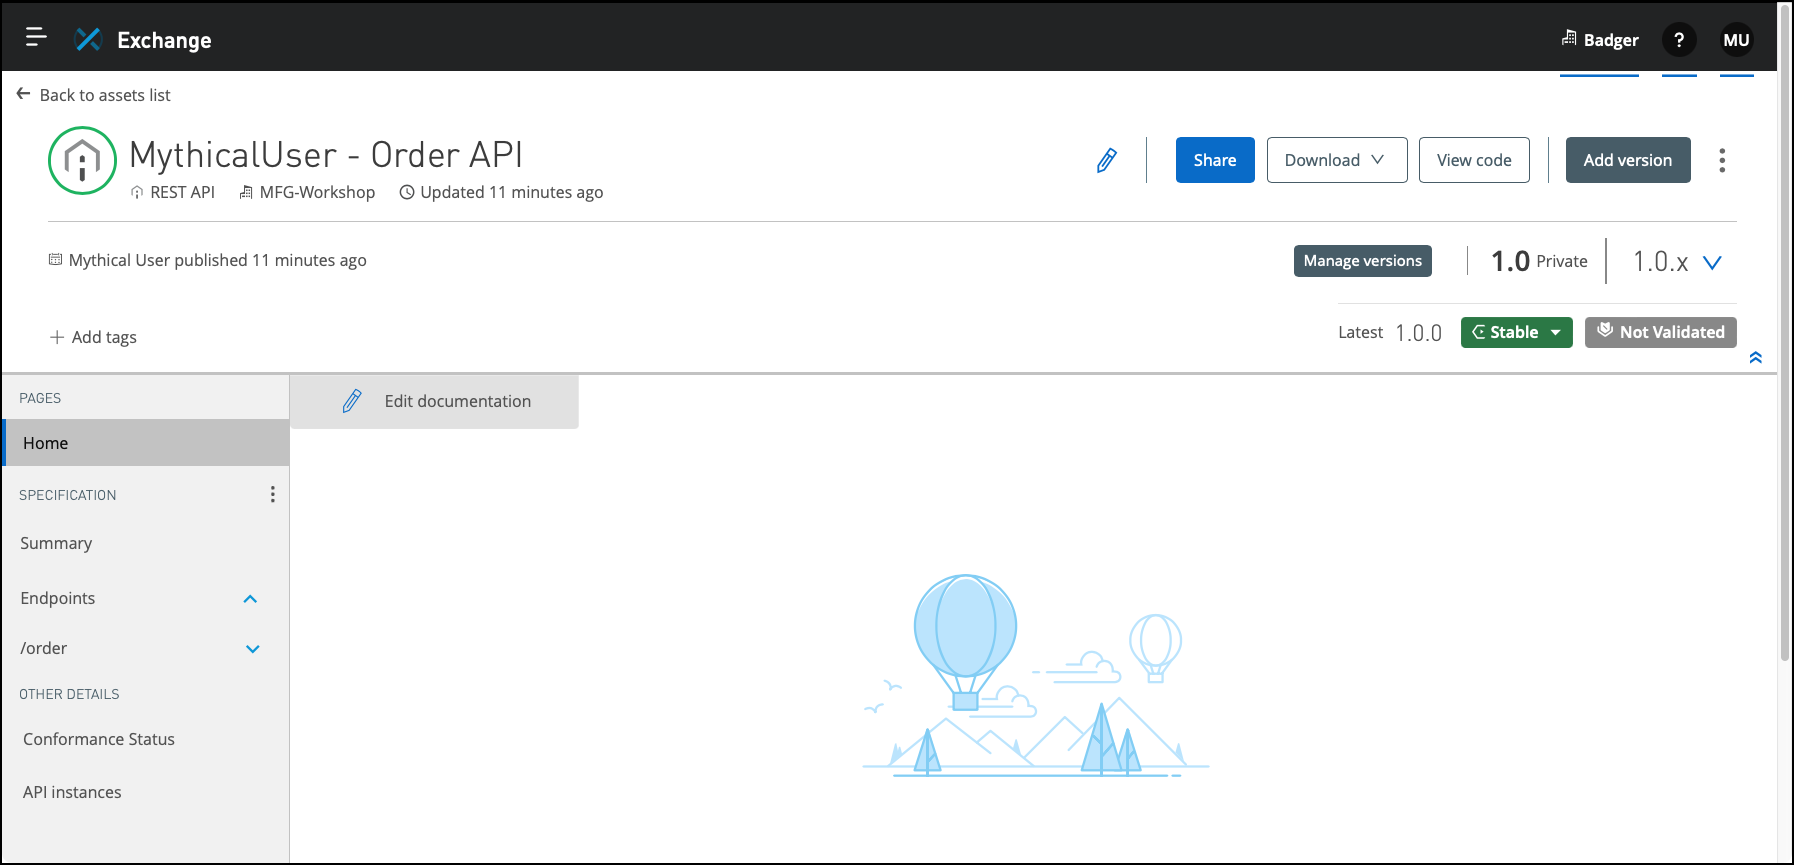
-
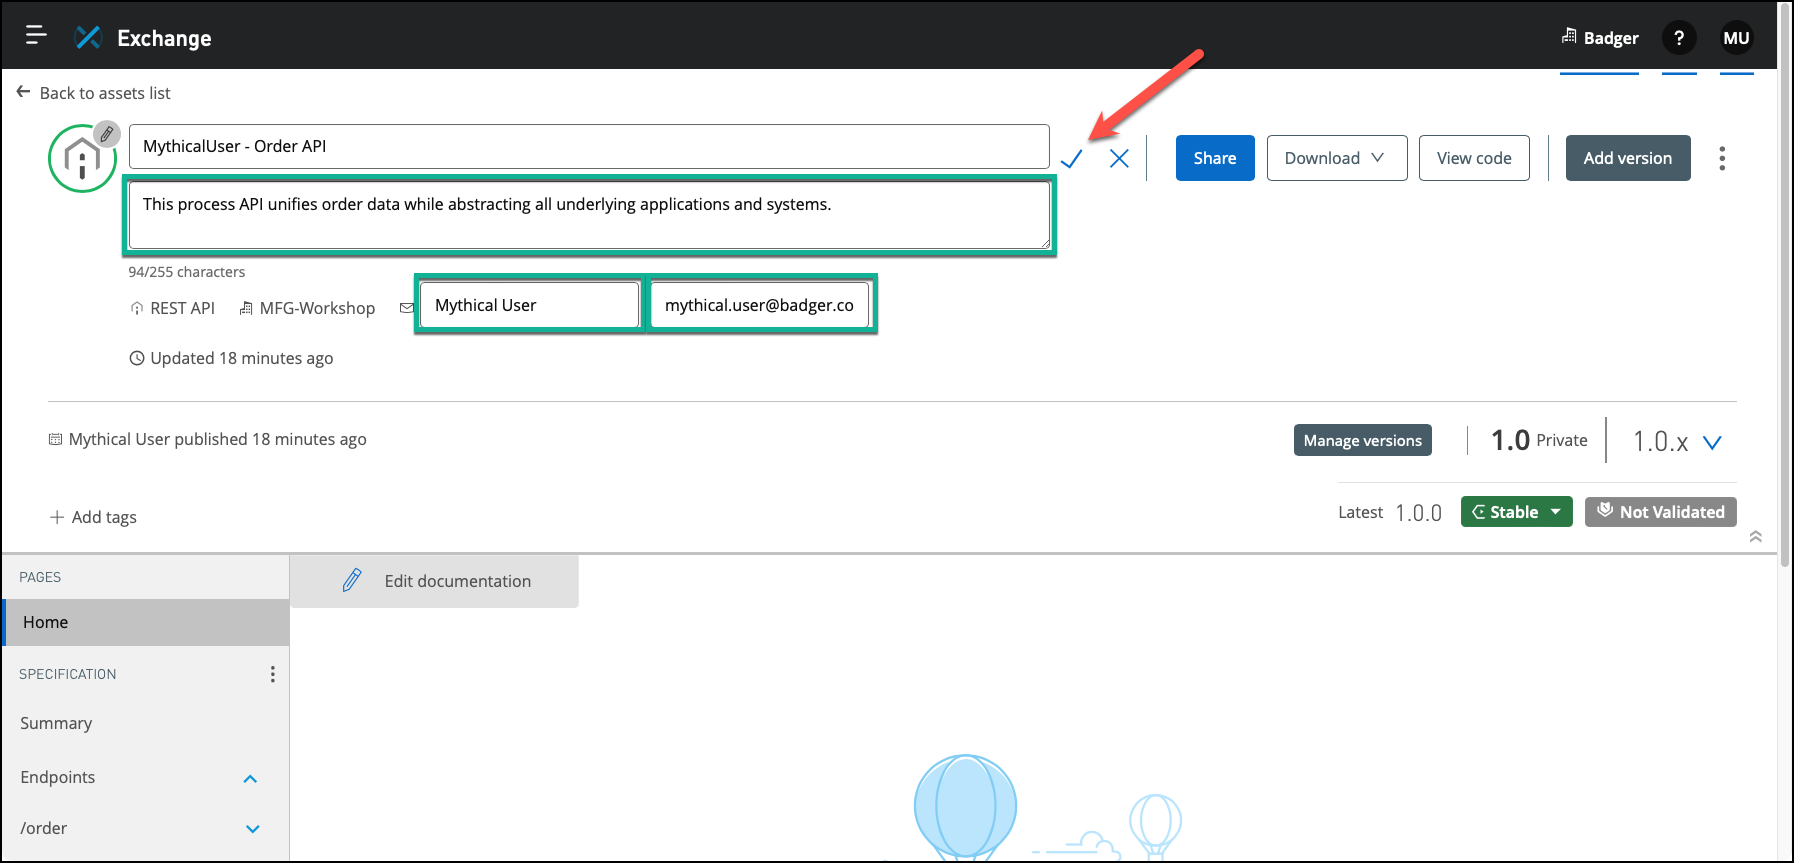
Click on the pencil icon towards the top and center of the page.
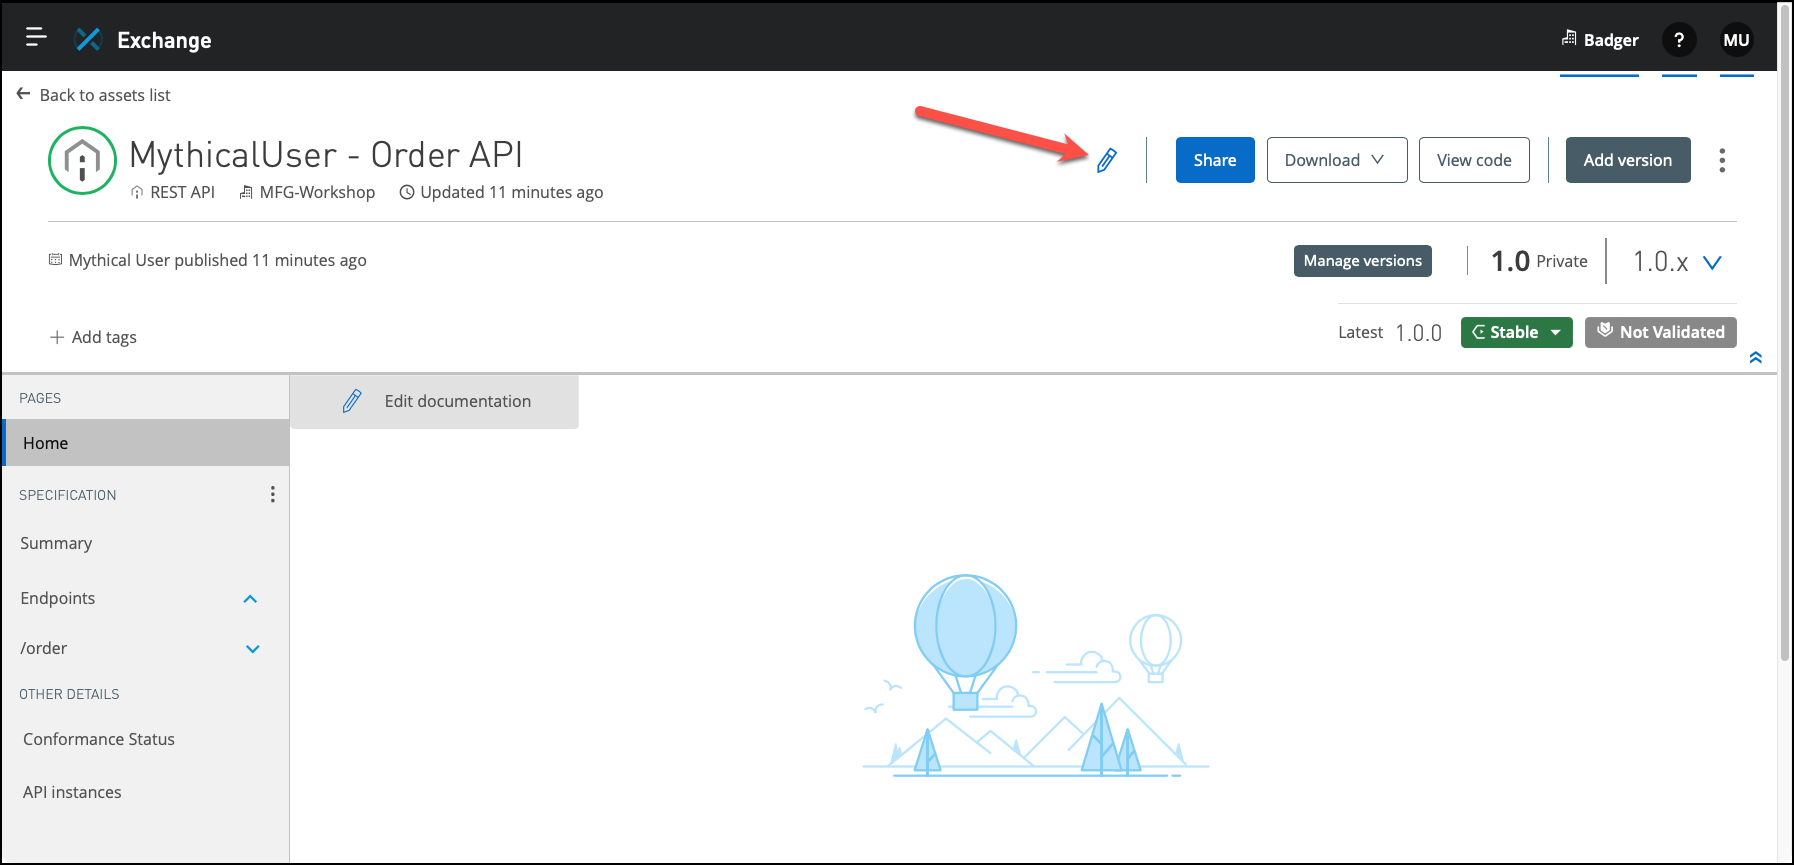
-
Optionally, enter a short description and your contact information. Finally, click on the check mark to commit any change.
-
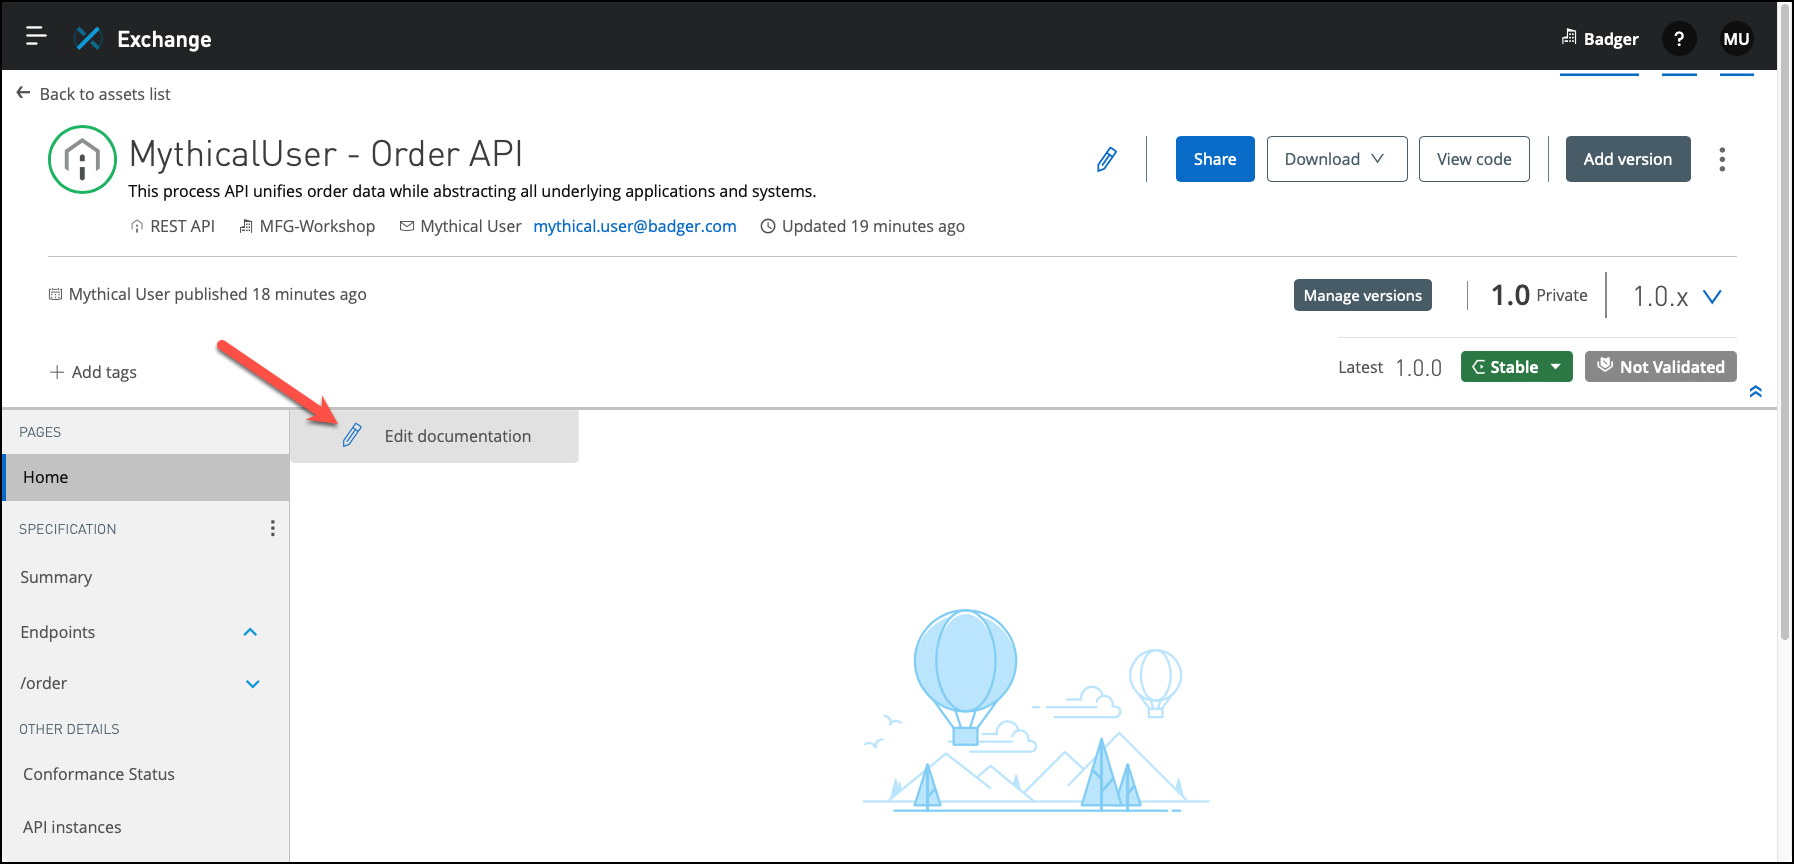
Click on the Edit documentation button.
-
Optionally, enter a long description, providing as many details as possible. As discussed in lab exercise 2, as a developer, your goal is to provide enough documentation to enable self-service. As in most development projects, the more detail you add to an API’s documentation, the more likely the API will be consumed and reused. API consumers should be able to read the documentation, test your API, and determine if it matches their needs without contacting anyone or opening a ticket, for example.
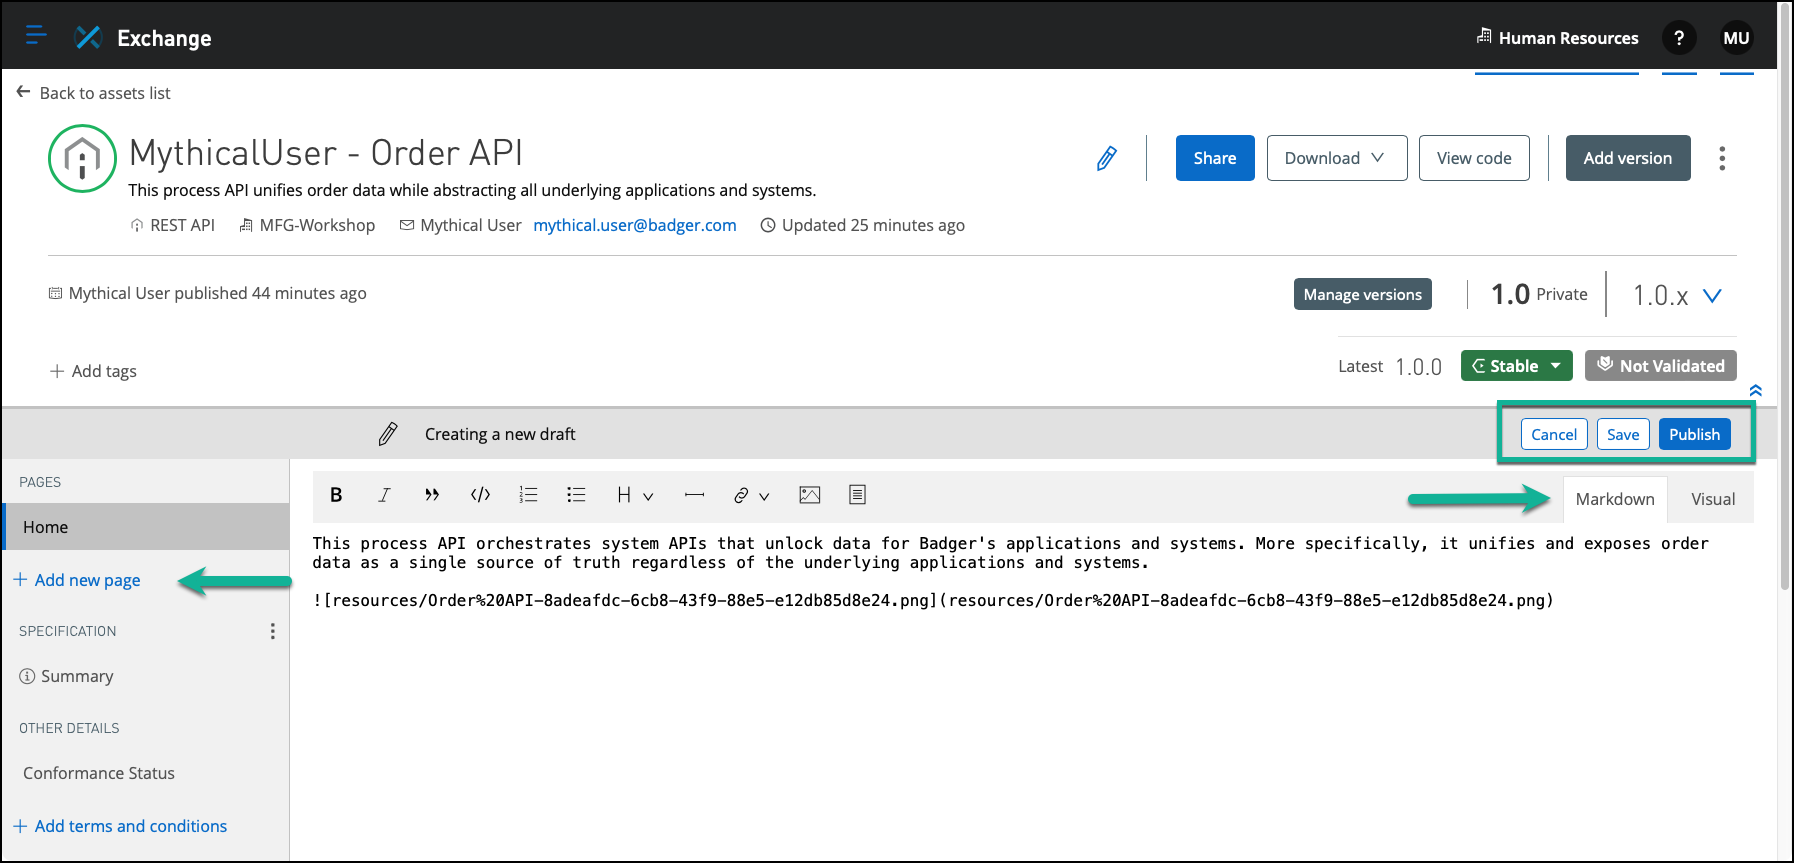
Notice the following features:
-
Using the Cancel, Save and Publish buttons, we can cancel our changes, save a draft that we will publish later, or publish our changes immediately.
-
The Markdown and Visual tabs, as their name implies, enable us to edit the documentation using the markdown editor or the visual editor.
-
Finally, we can add as many documentation pages as we see fit using the Add new page button.
-
-
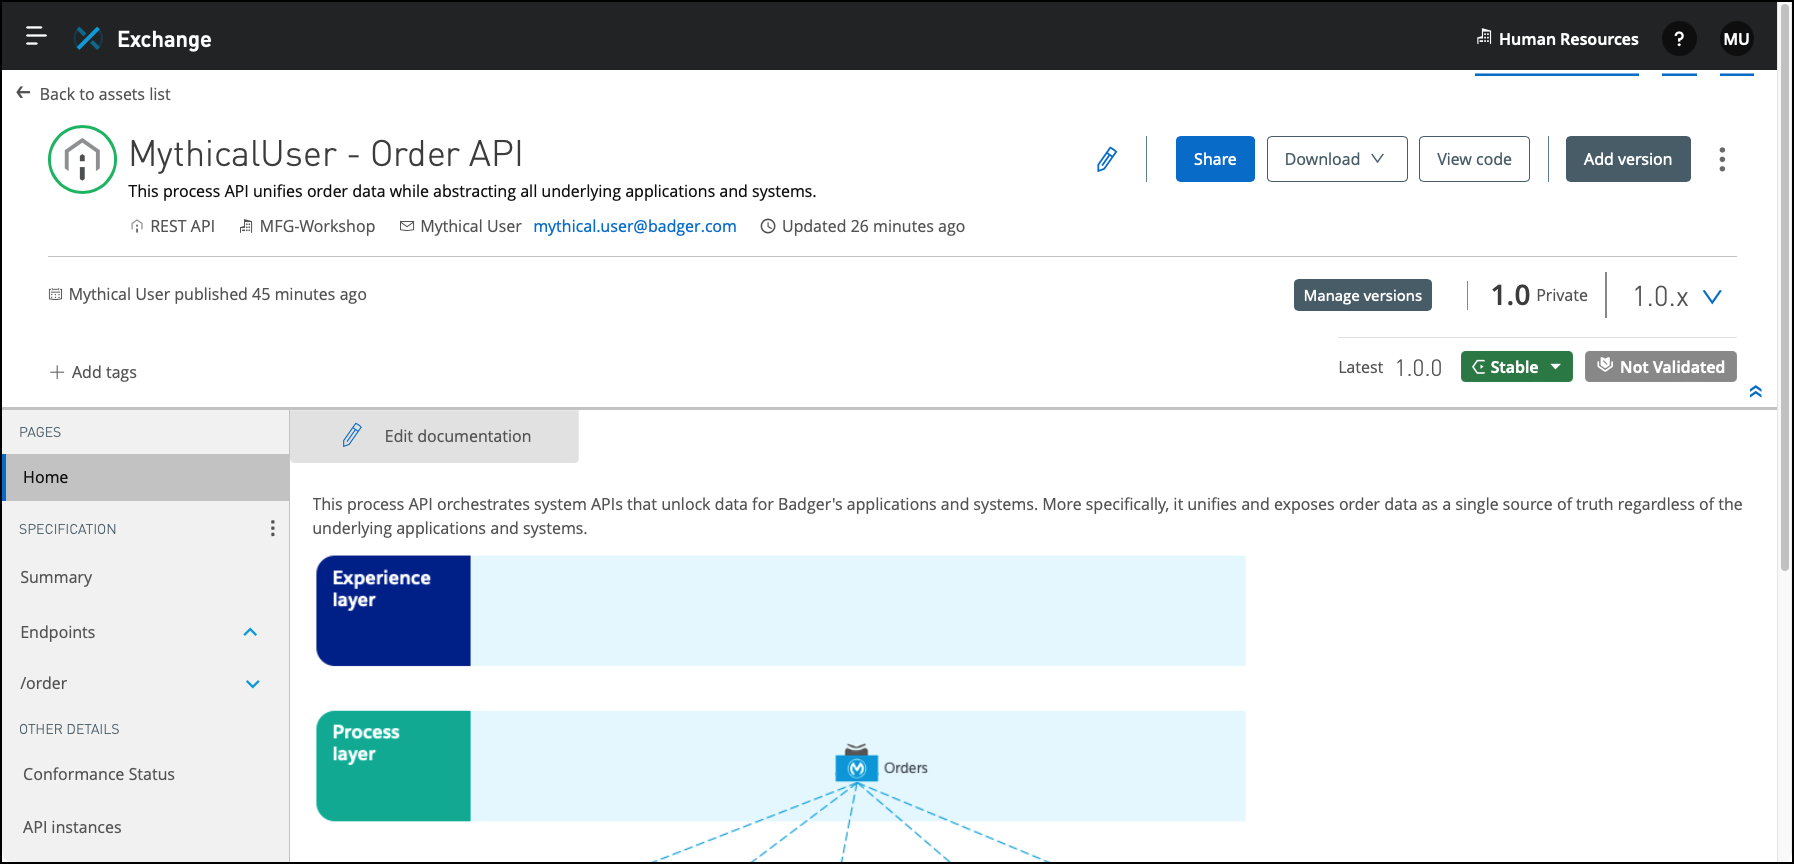
Click the Publish button to commit and publish your changes immediately.
MuleSoft’s best practices dictate including the following pages in Anypoint Exchange when documenting APIs:
-
Home: The default page should talk about the basics of what your API does and perhaps provide an example (diagram) of how your API is currently consumed.
-
How to Consume: This page describes how a developer can consume/get access to your API and the steps to perform to invoke the API successfully.
-
Security: This page specifies the security-related details of your API so that a consumer is aware of the API’s security scheme, authentication, etc., to invoke the API successfully.
-
Environments and Testing: This page talks about the different environments where this API is available and the URL for each of those environments. This page also briefly discusses sample data that a user can pass to test your API in these different environments.
-
Support: This page prescribes the support-related details for your API. This information may include the author, owner, support team, etc., and prescribe who to contact for questions, enhancement requests, and potential issues and bugs.
-


Summary
This lab exercise revisited Anypoint Exchange, but more from the content producer perspective. First, you published your Order API to Anypoint Exchange. Then, the lab exercise guided you through some basic capabilities to augment and improve your API documentation. The following lab exercise will focus on Anypoint Studio - e.g., implementing your Order API.
Proceed to Lab 5: Overview of Anypoint Studio to continue.